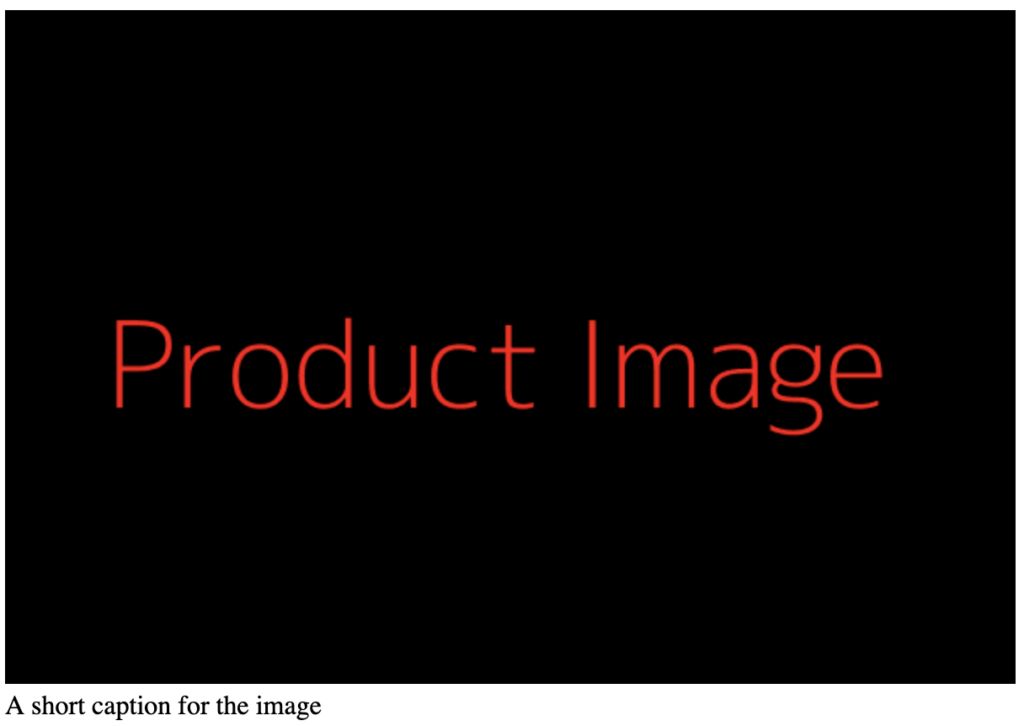
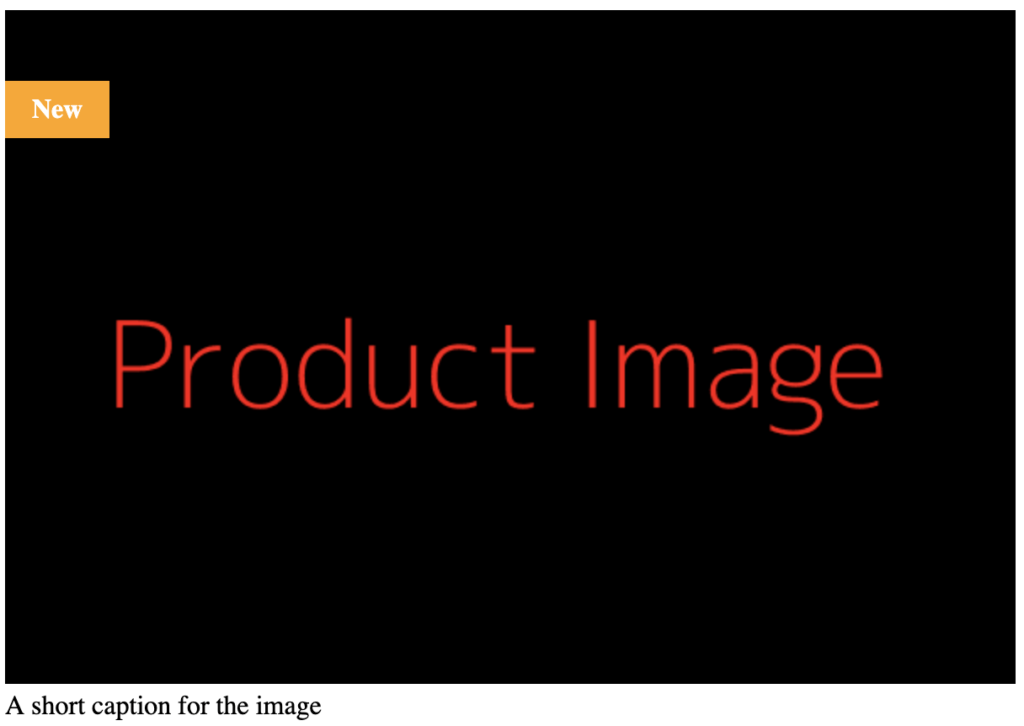
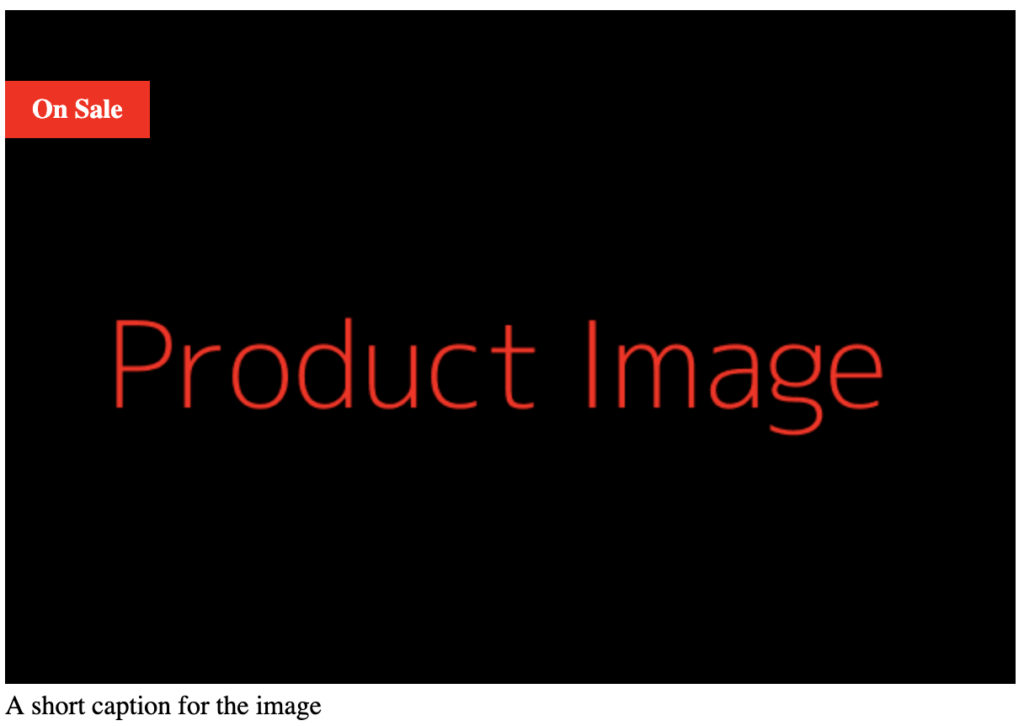
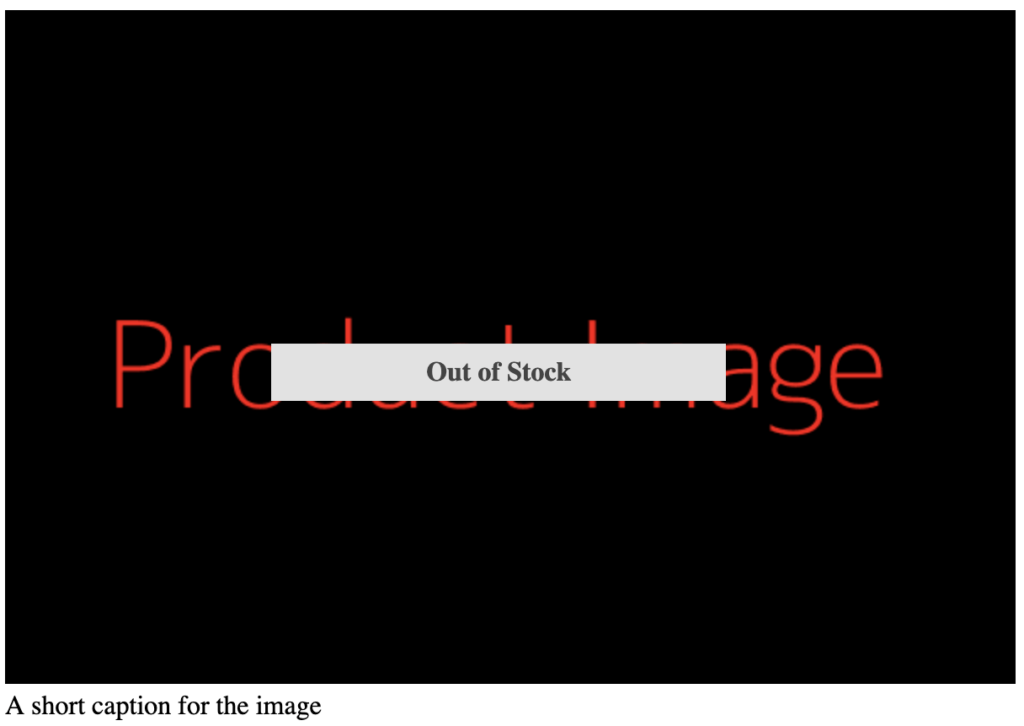
This blog will show you how to place a tag with text over an image using CSS3 pseudo-element. An everyday use case for this is on an e-Commerce website where you might want to emphasize a new product, a product on sale, or a product out of stock. Since commonly your products are displayed dynamically using a database, you are unable to modify the HTML markup to add a tag with text over the image. In some cases, you will need to alter the image and made the tag part of the picture. So, CSS3 is perfect for this because we can add these tags when there is a class name change.
What is a pseudo-element?
In HTML, a definition of the word pseudo is a visual graphic that doesn’t live in the HTML content of the page. Below is what the CSS rule syntax looks like for the pseudo-element; take note of the double colons.
selector::pseudo-element {
  property: value;
}
For our exercise, we will be working with the pseudo-element, ::before.
Step 1 – Build the Structure
Below is the HTML structure of a figure tag with an image and caption.
<figure class="product">
    <img src="https://dummyimage.com/600x400/000/fff&text=Product+Image" alt="Product Image" class="product-image">
    <figcaption class="image-caption">A short caption for the image</figcaption>
</figure>

Step 2 – Create Custom CSS Class .tag
Next, we created a base class .tag and then write any variations with that class as the prefix to keep things organized. Below are the first two CSS rules.
The first rule has a position: relative which tells the browser anything absolutely positioned inside it should be position relative to its container size. If this is not specified, anything absolutely positioned will be positioned to the body tag.
/* Make the tag position relative to the figure */
.tag {
  position: relative;
}
Now we are going to write the pseudo-element which will contain our tag content. These styles will be shared by all of the style variations like new, on sale, and out of stock. This prevents redundancy in our code. See what we are using the pseudo-element, ::before.
/* set the base styles all tags should use */
.tag::before {
  position: absolute;
  top: 10%;
  display: block;
  color: white;
  padding: 0.5rem 1rem;
  font-weight: bold;
}
Step 3 – Write the Tag Content Variations
These tags use the content property to essentially add content before the selected element. Here, you just write the words you want to be displayed and then changing the container’s background color. I suggest experimenting with turning the position absolute on and off to see how that changes things.
/* Specific variations for different tags */
.tag-new::before {
  content: "New";
  background: orange;
}

.tag-onsale::before {
  content: "On Sale";
  background: red;
}


For the out of stock tag, I wanted it to be centered so I wrote a few more properties to do that.
.tag-out::before {
  content: "Out of Stock";
  background: #e2e2e2;
  border: #ccc;
  color: #444;
  top: 47%;
  left: 10%;
  width: 15%;
  margin: 0 auto;
  text-align: center;
}

Conclusion
As you can see, pseudo content elements are potent and can help you add visual content to a page. However, if you want to print the page with the tag with over the images, pseudo-elements are not the best option. You will need to find a way to add the content into the DOM or HTML document of the page. You can do this by updating your server-side code or javascript to add the element.
If you want to know more about the use of pseudo-elements, read the blog in CSS-Tricks “A Whole Bunch of Amazing Stuff Pseudo Elements Can Do” or in your look for “pseudo-elements”.
